
Key takeaways
- Keep the design simple - family name, year and place read best in photos.
- Start collecting sizes early and set a firm cutoff date.
- Share the size chart for the exact shirt you choose, since fit varies by brand and cut.
- Color-code family branches for photos and easy spotting at the event.
- Order finished shirts, or order DTF gang sheets and press them yourself.
The best family reunion shirts are simple: a family name, the year and the place, printed on a shirt color the whole group is happy to wear. The part that trips most families up is not the design, it is the logistics, so start collecting sizes early and give everyone a firm deadline.
This guide covers design ideas, picking colors and a print method, a week-by-week planning timeline, how to collect sizes without chaos, and ways to keep the budget down. The same plan works for quinceañeras, memorial gatherings, church groups, community events and team shirts.
Family reunion t-shirt ideas
Keep it simple. Shirts get worn for years after the event, so pick something that still makes sense later.
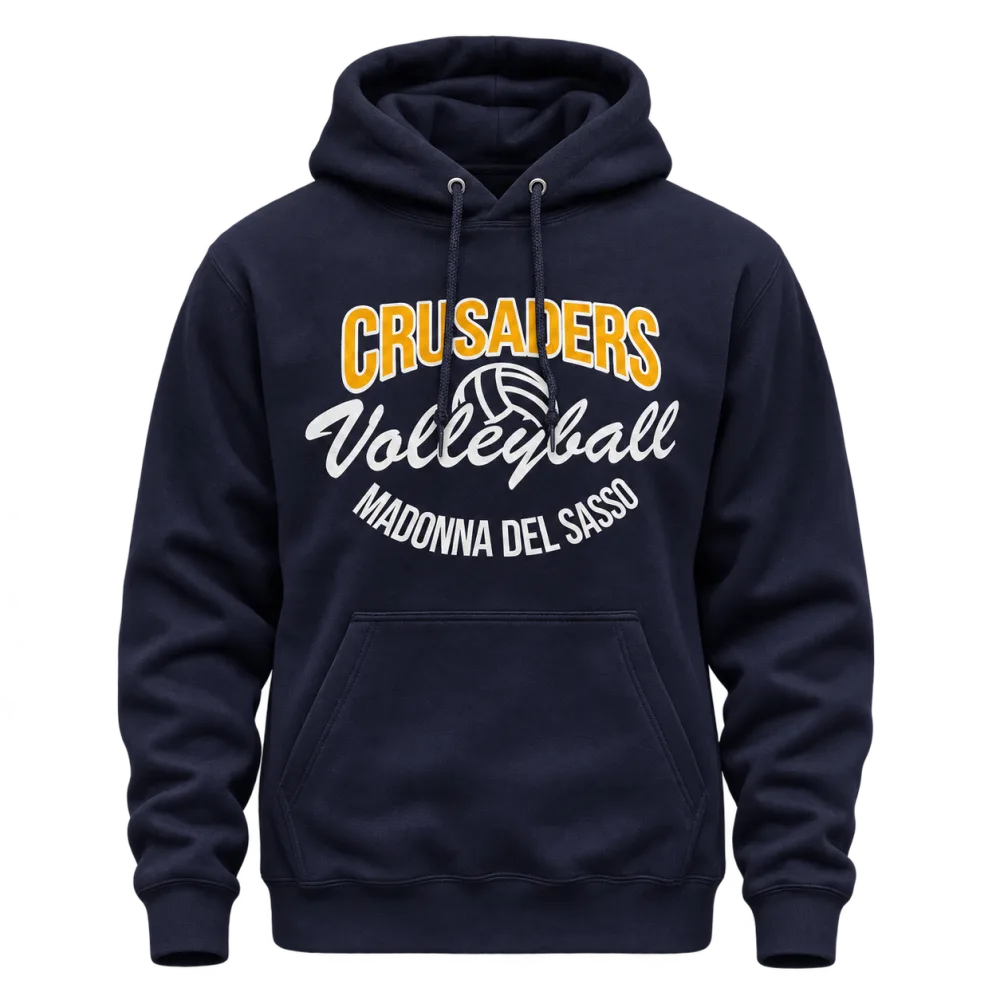
Family name and year
The classic: "The Garcia Family Reunion" with the year underneath. Adding the year turns every shirt into a keepsake you can compare at the next reunion.
Location
Put the town, park or region where the family started or where the reunion is held. A city name and a simple outline or landmark gives the shirt a sense of place without extra text.
Family tree and roots
Trees, roots and branches are popular because they fit the idea of a family growing from one place. A line like "Rooted in Love" or "Same Roots, Different Branches" works well with a simple tree graphic.
Color coding by branch
Give each branch of the family (each of the original siblings, for example) its own shirt color with the same design. Relatives can spot their own side at a glance, and the group photo looks organized. Keep the print color the same across every shirt so it reads as one family.
Names on the back
Put each person's first name, or a role like "Grandma," "Tío" or "Cousin," on the back. Each shirt is different, so plan for it in your size list (more on that below).
Quinceañeras, memorials and community events
The same approach works for other gatherings. For a quinceañera, use the honoree's name, the date and a color from the celebration. For a memorial, a respectful photo, name and dates, or a short phrase the family chooses together, keeps the focus where it belongs. For church and community events, the event name, date and a simple symbol are usually enough. Whatever the occasion, show the design to a few family members before you order.
Choosing shirt colors and a print method
For group photos, a few practical tips:
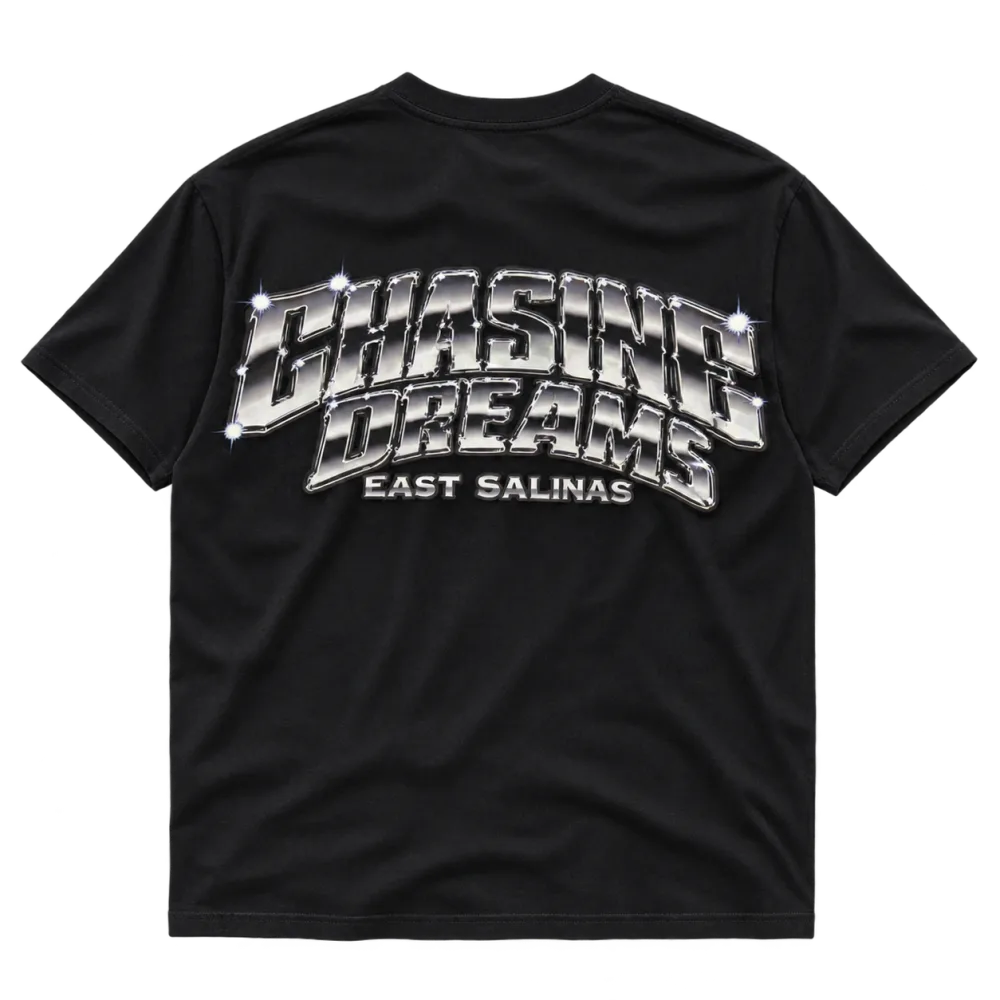
- Pick shirt and print colors with strong contrast, such as a light print on a dark shirt or a dark print on a light shirt, so the design shows up in photos.
- If you color-code by branch, choose colors that look good together side by side.
- Check that the shirt color comes in every size you need, including youth sizes, before you commit.
For the print method, the right choice depends on how many shirts you need, how many colors are in the design, and whether every shirt is different (like names on the back). Our comparison of DTF vs screen printing vs DTG walks through the trade-offs so you can decide before you request a quote.
A planning timeline for reunion shirts
Work backward from the reunion date. This is a suggested schedule, not a shop promise, so confirm production time with whoever makes your shirts.
- 8 weeks out: Pick one organizer, settle the design idea and set a budget per shirt.
- 7 weeks out: Request a quote with your design, shirt color and a rough count so you know the real price and timing.
- 6 weeks out: Send the size form to every household with the size chart for the exact shirt you picked.
- 4 weeks out: Close the size form, collect payment and send the final order.
- 2 to 3 weeks out: Review the proof carefully, especially spelling of names and dates.
- Reunion week: Pick up the shirts, sort them by household and hand them out at check-in.
How to collect everyone's sizes
A shared form or spreadsheet beats a group chat. Ask one person per household to fill it out for everyone they're bringing, and ask for the same details every time.
| Name (for the back) | Size | Shirt color | Youth or adult | Household contact |
|---|---|---|---|---|
| Maria | Adult M | Black | Adult | Lopez household |
| Diego | Youth L | Black | Youth | Lopez household |
| Grandpa Joe | Adult 2XL | Navy | Adult | Ramirez household |
| Sofia | Youth S | Navy | Youth | Ramirez household |
A few tips:
- Ask people to type names exactly as they should be printed.
- Ask for both the size and whether it's a youth or adult size. "Medium" means very different things in each.
- Add a column for toddlers or babies if any will attend, since not every shirt style comes in those sizes.
- Lock the sheet after the deadline so no one changes a size after you order.
Sizing: why you should share the size chart
Sizes vary between brands, and even between styles from the same brand. Gildan's fit guide lists several adult cuts, including Classic Fit, Modern-Classic Fit and Oversized Fit, plus a women's Classic Fit and Semi-Fitted cut. Bella+Canvas publishes separate size charts for women's, men's/unisex, youth and baby, and its women's chart covers several fits such as relaxed, slouchy, flowy and boxy.
What that means for your family:
- Once you pick the shirt, send everyone the size chart for that exact style.
- Suggest people lay a shirt they like flat and compare its measurements to the chart.
- Point out whether the shirt is a unisex or women's cut, since the same letter size can fit differently.
- Make sure kids are ordering youth sizes and adults are ordering adult sizes.
Can each shirt have a different name?
Yes, personalized shirts with names are a common request, and they're one of the nicest touches for a reunion. The key is a clean list: one row per shirt, names spelled exactly as they should print, and the size next to each name.
If you're ordering finished shirts, include the name list with your quote request. Minimums, pricing and turnaround for personalized shirts depend on the order, so we'll confirm those in your quote.
If you're going the DIY route, a DTF gang sheet lets you place many different designs on one sheet, so every name can be its own transfer. Our DTF transfer size chart helps you pick sizes for front prints and back names.
DIY or have them made?
There are two good ways to get reunion shirts.
Have them made. You send the design and the size list, and the shirts come back printed and ready to hand out. This is the easier route for most families, especially for larger groups. Request a quote through the custom apparel quote form and we'll confirm minimums, pricing and timing in your quote.
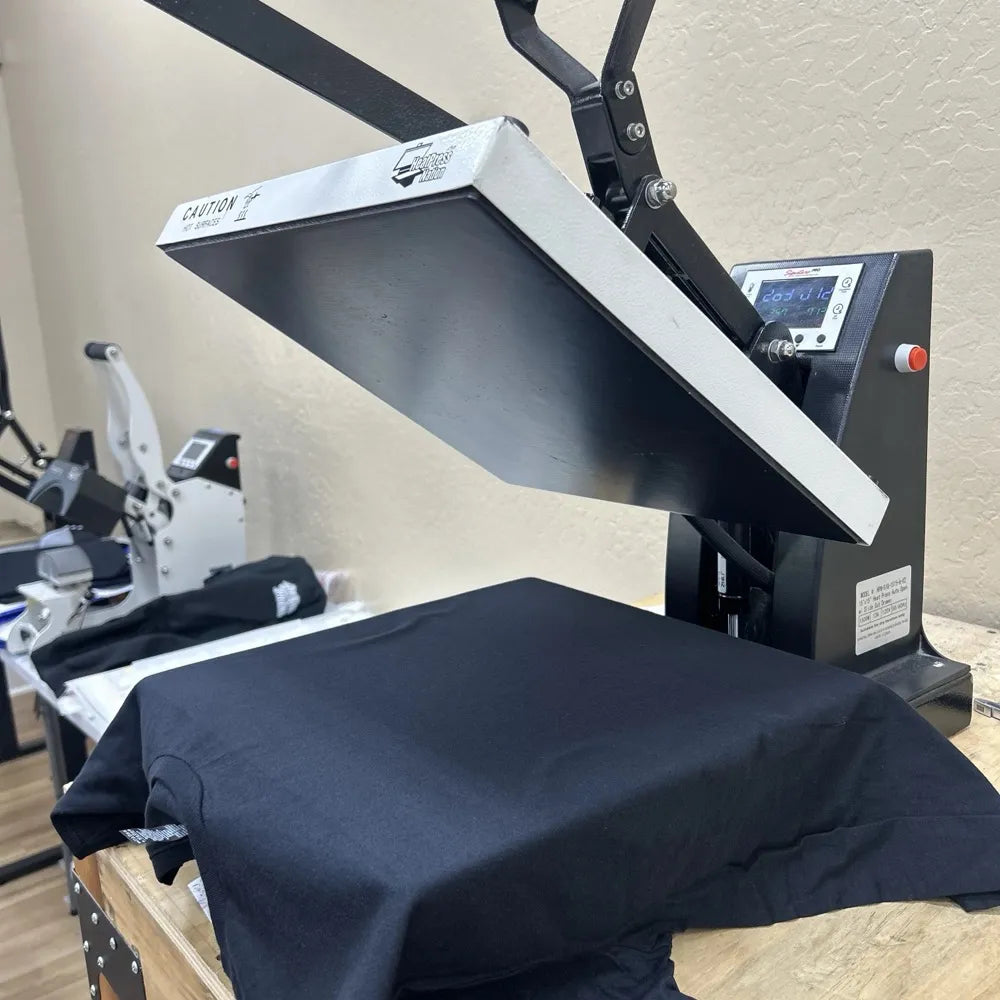
Press them yourself. If someone in the family has a heat press, you can buy blank shirts and order DTF gang sheets to press at home. Our gang sheets are 22 inches wide and come in lengths from 22x30 ($18.50) to 22x100 ($55.50). The online builder lets you upload artwork, arrange your designs (auto layout is available), review the sheet and add it to your cart. For artwork, PNG is preferred, with a transparent background, 300 DPI recommended, uploaded at print size. Same-day service may be available depending on order volume and cutoff time. Pick up at the shop in Salinas or choose shipping at checkout.
When you press DTF transfers yourself, follow the time, temperature and peel instructions that come with your transfers. Our free gang sheet builder video guide shows how to set up a sheet step by step.
Budget tips for reunion shirts
You can keep costs down without making the shirts look cheap:
- Use one design for everyone. Every variation adds work. If you want names, keep the front design the same.
- Keep the artwork simple. Fewer colors and elements are easier to print and read better in photos.
- Choose a front-only print unless names on the back really matter to your family.
- Order once. Collect every size before ordering so you're not placing a second small order later.
- Collect payment with the size form. It keeps the organizer from paying for shirts that never get picked up.
Frequently asked questions
How far ahead should we order reunion shirts?
Start planning about two months before the reunion. That leaves time to settle the design, get a quote, collect sizes and payment, review a proof and pick up the shirts. Production time depends on the shop and the order, so ask for timing in your quote and set your size deadline around it. Ordering early also leaves room to fix a misspelled name.
How do we collect everyone's sizes?
Use a shared form or spreadsheet, not a group chat. Ask one person per household to enter each person's printed name, size, youth or adult, and shirt color. Send the size chart for the exact shirt you picked along with the form, set a firm deadline a few days early, and lock the sheet once you place the order.
What colors work best for group photos?
Choose strong contrast between the shirt and the print so the design shows up, like a light print on a dark shirt. One shared color looks unified, while color-coding by family branch helps relatives spot their side. Make sure every color you pick comes in all the sizes you need, including youth sizes, and consider the weather if the event is outdoors.
Can each shirt have a different name?
Yes. Collect a clean list with one row per shirt, the name spelled exactly as it should print, and the size beside it. For finished shirts, include that list with your quote request so pricing and timing can be confirmed. For DIY, a DTF gang sheet lets you place a separate name transfer for each person on one 22-inch-wide sheet.
Should we DIY or have the shirts made?
Having shirts made is the easiest route: you send the design and size list, and the shirts come back ready to hand out. DIY makes sense if someone in the family owns a heat press and has time to press every shirt. You order DTF gang sheets, buy blank shirts and press them yourself, following the instructions that come with the transfers.
