Key takeaways
- Follow the instruction sheet for your transfers first; published settings vary by brand and film.
- Manufacturers commonly list about 290 to 320°F, 10 to 15 seconds and medium to firm pressure for cotton.
- Peel hot, warm or cold only as your film's instructions say; the wrong timing can lift the design.
- A short second press under parchment is recommended by several transfer makers for durability.
- Wash inside out in cold water and air dry or tumble dry low to make prints last.
To apply a DTF transfer, pre-press the garment to remove moisture, place the transfer, press it at the temperature, time and pressure on your transfer's instruction sheet, peel the film the way that sheet says, and finish with a short second press. Published settings usually land around 290 to 320°F for 10 to 15 seconds at medium to firm pressure, but they vary by transfer brand and film.
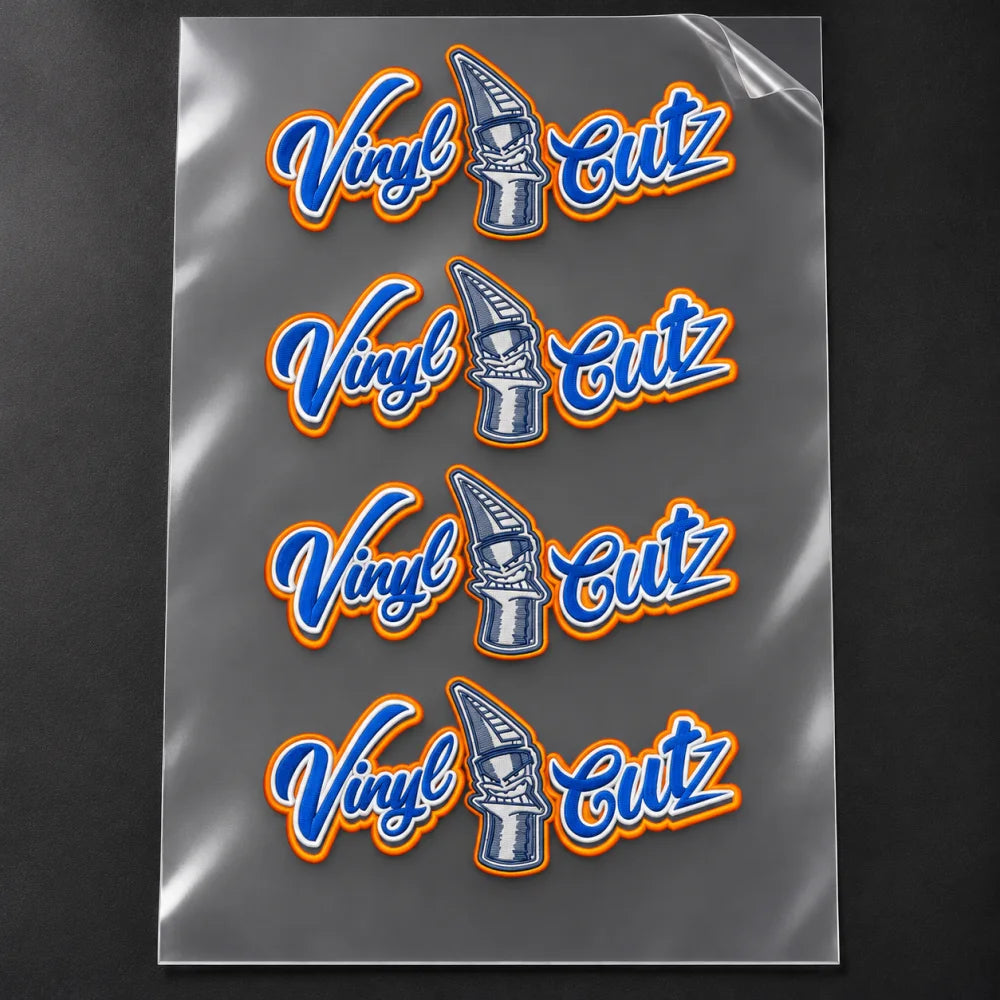
This guide walks through each step on a heat press, explains what changes with a household iron, hats and polyester, and shows how to fix peeling, cracking and stuck film. If you ordered DTF gang sheets from Vinyl Cutz in Salinas, call or text (831) 540-0287 and we'll confirm the right settings for your transfers.
Typical DTF time, temperature and pressure
There is no single correct setting for DTF. Each transfer maker publishes its own numbers. Here is what several list:
- Transfer Express: its UltraColor Max DTF instructions list 290°F for 12 to 15 seconds at medium pressure (60 psi on a Hotronix press), hot peel, after a 3 to 5 second pre-press.
- STAHLS' UK: its UltraColour Max DTF settings are 145°C (about 293°F), 12 seconds, medium pressure, hot peel.
- Ninja Transfers: its heat press guide lists 310 to 320°F for 12 seconds at medium-high pressure on 100% cotton, and 285 to 300°F for 13 seconds at medium pressure on polyester.
- ColDesi (equipment supplier): its step-by-step guide calls 300 to 320°F, 10 to 15 seconds and medium to firm pressure "a common starting point" and says exact settings depend on the transfer manufacturer.
Synthetics usually get less heat than cotton. When your sheet and this list disagree, trust the sheet.
How to apply DTF transfers with a heat press
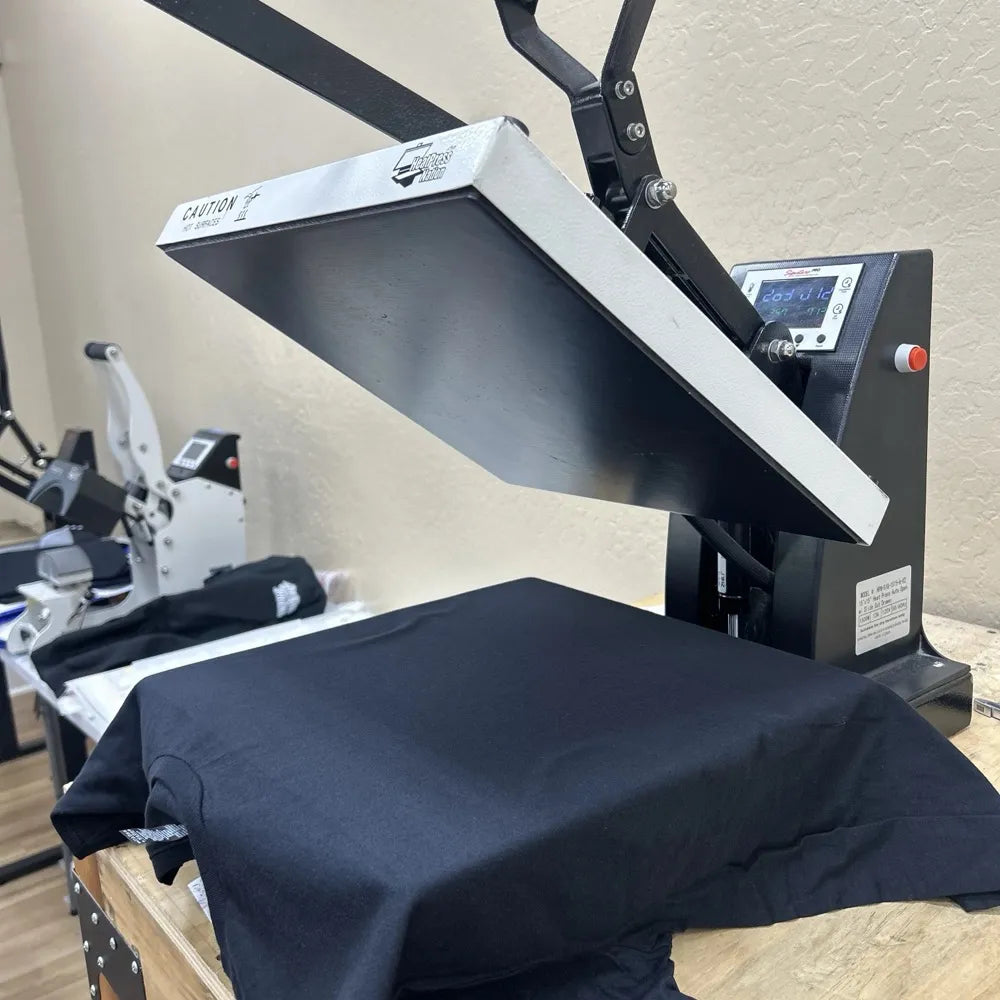
A heat press gives even heat and steady pressure. These steps follow the manufacturer guides above.
- Set the press: Dial in the temperature, time and pressure from your transfer's instruction sheet.
- Pre-press the garment: Press the empty shirt for a few seconds to remove moisture (Transfer Express lists 3 to 5 seconds).
- Place the transfer: Position the transfer where you want the design. Use heat-resistant tape if it might shift.
- Press: Close the press for the full time on your sheet. Do not lift early.
- Peel: Peel hot, warm or cold exactly as your sheet says, and peel slowly.
- Second press: Cover the design with parchment paper or a protective sheet and press again. Ninja Transfers says about 12 seconds; ColDesi suggests 5 to 10 seconds at the same temperature and pressure.
Hot peel vs cold peel
Peel timing depends on the film, not on preference. As ColDesi explains, some transfers are designed to peel hot, some warm, and others only after they have fully cooled. Transfer Express and STAHLS' list their DTF as hot peel, while Ninja says its film can peel hot or cool. If you don't know which film you have, let it cool fully, then test one corner.
Why do a second press?
Ninja Transfers says a final press with the film removed "greatly improves durability and softness while reducing shine," and ColDesi says it helps the bond and washability. Not every manufacturer lists this step, so check your sheet.
How to apply DTF transfers with a household iron
You can apply DTF transfers at home with an iron, but expect less consistent results. Ninja Transfers says plainly that "irons give the least consistent results," because you supply the pressure and the plate heats unevenly. Check your transfer's instructions first: not every maker approves iron application.
Ninja's iron instructions boil down to this:
- Use the cotton/linen setting with steam off and the water reservoir empty.
- Work on a hard, flat surface, not a padded ironing board.
- Cover the transfer with parchment paper and press straight down with firm, full-body-weight pressure for about 12 seconds, moving in small circles so edges and corners get heat.
- If any part lifts while peeling, lay it back down and press another 10 to 15 seconds.
- Finish with a second press over parchment.
Ninja gives the same 300 to 310°F target for handheld craft presses on a firm mat, pressing large designs in overlapping sections.
DTF on hats, polyester and nylon
Hats. Ninja's hat guide recommends securing the transfer with heat-resistant tape, using a protective guard sheet around the transfer, pressing with medium-firm pressure, and doing a second press after peeling. It lists a 320°F top temperature for 15 seconds, plus an optional 130°F bottom temperature to keep the hat warm.
Polyester. Polyester usually takes lower heat. Ninja lists 285 to 300°F at medium pressure, and ColDesi advises keeping settings "on the lower side" and testing on a similar garment first.
Nylon. Epson notes that DTF film transfers work on polyester, nylon and blends. Ninja's chart has a separate nylon setting of 310 to 320°F for 12 seconds.
Troubleshooting peeling, cracking and stuck film
| Problem | Likely cause | Fix |
|---|---|---|
| Design lifts when you peel | Not enough heat, pressure or time | Lay the film back down and press again with more pressure; raise heat in small steps |
| Film won't release or tears the design | Wrong peel timing for the film | Check whether your film is hot, warm or cold peel; let cold-peel film cool fully |
| Peeling or cracking after washing | Adhesive didn't fully bond, or harsh washing | Do a second press; wash inside out in cold water and skip bleach |
| Shiny or glossy finish | No final press | Second press under parchment paper |
| Fuzzy edges or a halo around the design | Soft or semi-transparent edges in the artwork | Clean up edges and use halftones for fades before printing |
| Scorch marks on the shirt | Heat, pressure or time too high | Lower settings and test on scrap |
| Transfer shifts during pressing | Loose placement or a wrinkled shirt | Heat-resistant tape and a pre-press |
Sources for these fixes: Ninja Transfers recommends re-pressing with more pressure and about 15°F more heat when a transfer won't stick, and says repeated pressing won't damage its transfers. ColDesi links peeling after washing to an incomplete bond and scorch marks to settings that are too high. Screenprinting.com warns that poor file prep leads to "unwanted halos, pixelated edges," and recommends halftones for fades. Our gang sheet builder can remove backgrounds and apply halftones; see the background removal guide and the halftone guide.

How to wash DTF shirts
Good care keeps prints looking new. Ninja Transfers' care advice is:
- Turn the garment inside out before washing.
- Wash in cold water on a gentle cycle.
- Avoid bleach and harsh detergents.
- Air dry or tumble dry on low heat.
Wash life also depends on the product. STAHLS' says its UltraColor MAX transfers are wash tested to 50 cycles, and other brands publish their own figures.
Get your settings right before a big run
Read your transfer's instruction sheet, test on a spare garment, then press the run. New to DTF? Start with our guide to what a DTF gang sheet is and how to build one, or compare methods in DTF vs screen printing vs DTG. Free video walkthroughs of the builder are on our guides page.
Frequently asked questions
What temperature and time do DTF transfers need?
It depends on the transfer brand, so use the instruction sheet that came with yours. Published settings for cotton usually fall around 290 to 320°F for 10 to 15 seconds at medium to firm pressure. Transfer Express lists 290°F for 12 to 15 seconds, and Ninja Transfers lists 310 to 320°F for 12 seconds on cotton. Polyester typically gets lower heat. Test on a spare garment first.
Should I hot peel or cold peel DTF transfers?
Peel the way your film's instructions say. Some DTF films are made to peel hot, some warm, and some only after they cool completely. Transfer Express and STAHLS' list their DTF as hot peel, while Ninja Transfers says its film peels hot or cool. If you aren't sure, let the transfer cool fully and test one corner. Peeling a cold-peel film too early can lift or tear the design.
Can I apply DTF transfers with a household iron?
Often yes, if your transfer maker allows it, but results are less consistent than a heat press. Ninja Transfers advises the cotton/linen setting with steam off, a hard flat surface instead of an ironing board, parchment paper on top, and firm full-body pressure for about 12 seconds while moving in small circles. Re-press any area that lifts, then do a second press.
Why is my DTF transfer peeling or cracking?
Peeling while you remove the film usually means not enough heat, pressure or time; lay it back down and re-press with more pressure. Peeling or cracking after washing usually means the adhesive didn't fully bond, or the shirt was washed harshly. A second press after peeling helps, and so does washing inside out in cold water, skipping bleach and drying on low.
Do I need to press DTF transfers a second time?
Several transfer makers recommend it. Ninja Transfers says a final press under parchment paper improves durability and softness and reduces shine, and ColDesi suggests a second press of 5 to 10 seconds at the same settings. Not every brand lists this step, so check your instruction sheet. A short second press is also the standard fix when edges lift after peeling.
Can I apply DTF transfers to hats, polyester or nylon?
Yes. Epson notes that DTF film transfers work on polyester, nylon, blends and hats. For hats, tape the transfer down, use a protective sheet and press with medium-firm pressure, ideally on a hat press. Polyester usually needs lower heat, around 285 to 300°F per Ninja Transfers' chart. Settings differ by fabric, so test on a scrap or spare item first.